Small raindrops pelted the windscreen, heading South on Peninsula Link. The forecast was rain-free, with plenty of middle and high cloud. I glanced skyward, unconvinced. It looked more like boring low cloud than anything else. Still a few hours to sunset so, keep an open mind, you just have to be in it to win it, thought I. How many times have I forgotten this: gloomy mixed up weather days often end in the best sunsets.
Touareg found a space in the small parking area at the end of Spray Point road, Blairgowrie. There I joined an adventurous group of photographers from Melbourne Photography Adventures together with George and Karolina from WeAreRawPhotography. George and Karolina offered excellent advice including encouraging us to visit, view, but more importantly, to not fall off the edge at Spray Point!
Spray Point is located roughly eight kilometres South East from Portsea “as the crow flies” down the “wild” ocean side of the Mornington Peninsula. The walk from the car park to the point is a relatively easy few hundred metres trek along a clearly marked and well trodden path up the dunes. Spray Point and neighbouring Montforts beach would be our playground for the next few hours because: photography is fun.

Facing North West, toward Sorrento and Portsea (16mm f11 1.3s ISO100 & a Six Stop ND64 filter)
Spray Point lived up to its name as a stiff ocean breeze whipped the tops of massive breakers into frenzied plumes of spray. The point offers fantastic views both North West (toward Portsea) and South East (toward Rye / Gunnamatta / Cape Schanck). One could probably spend several hours working all sorts of compositions of jagged cliff edges, pretty coastal bush, frenetic ocean activity. Just a caution: be careful not to fall off the cliff edges at Spray Point. They are well worn and quite likely unstable. Don’t let your first visit be your last.
I imagined magical images of sunlight catching plumes of spray atop huge waves. But this was not to be, due to the slightly ominous clouds that blocked the sun. Which is not necessarily a bad thing as the light was nicely diffused and we could capture images of the wider seascape/landscape without needing to deal with deep shadows vs extraordinarily bright highlights. So instead of zooming in on sea-spray, I decided to experiment with some long exposure photography. Which is where neutral density (ND) filters come in handy. These enable us to extend exposure times from “the usual mid day” mini fractions of seconds to larger fractions of seconds and even many seconds. Arguably the best way to improve our photography is just to get out and shoot as often as we can, irrespective of the weather. Experiment with different exposure times and how those interact with moving water and work out what you like and, later, why you like it.

View facing South East, over Montforts beach, toward Cape Schanck in the distance.
30mm f11 4s ISO64 and a Ten Stop ND1000 filter
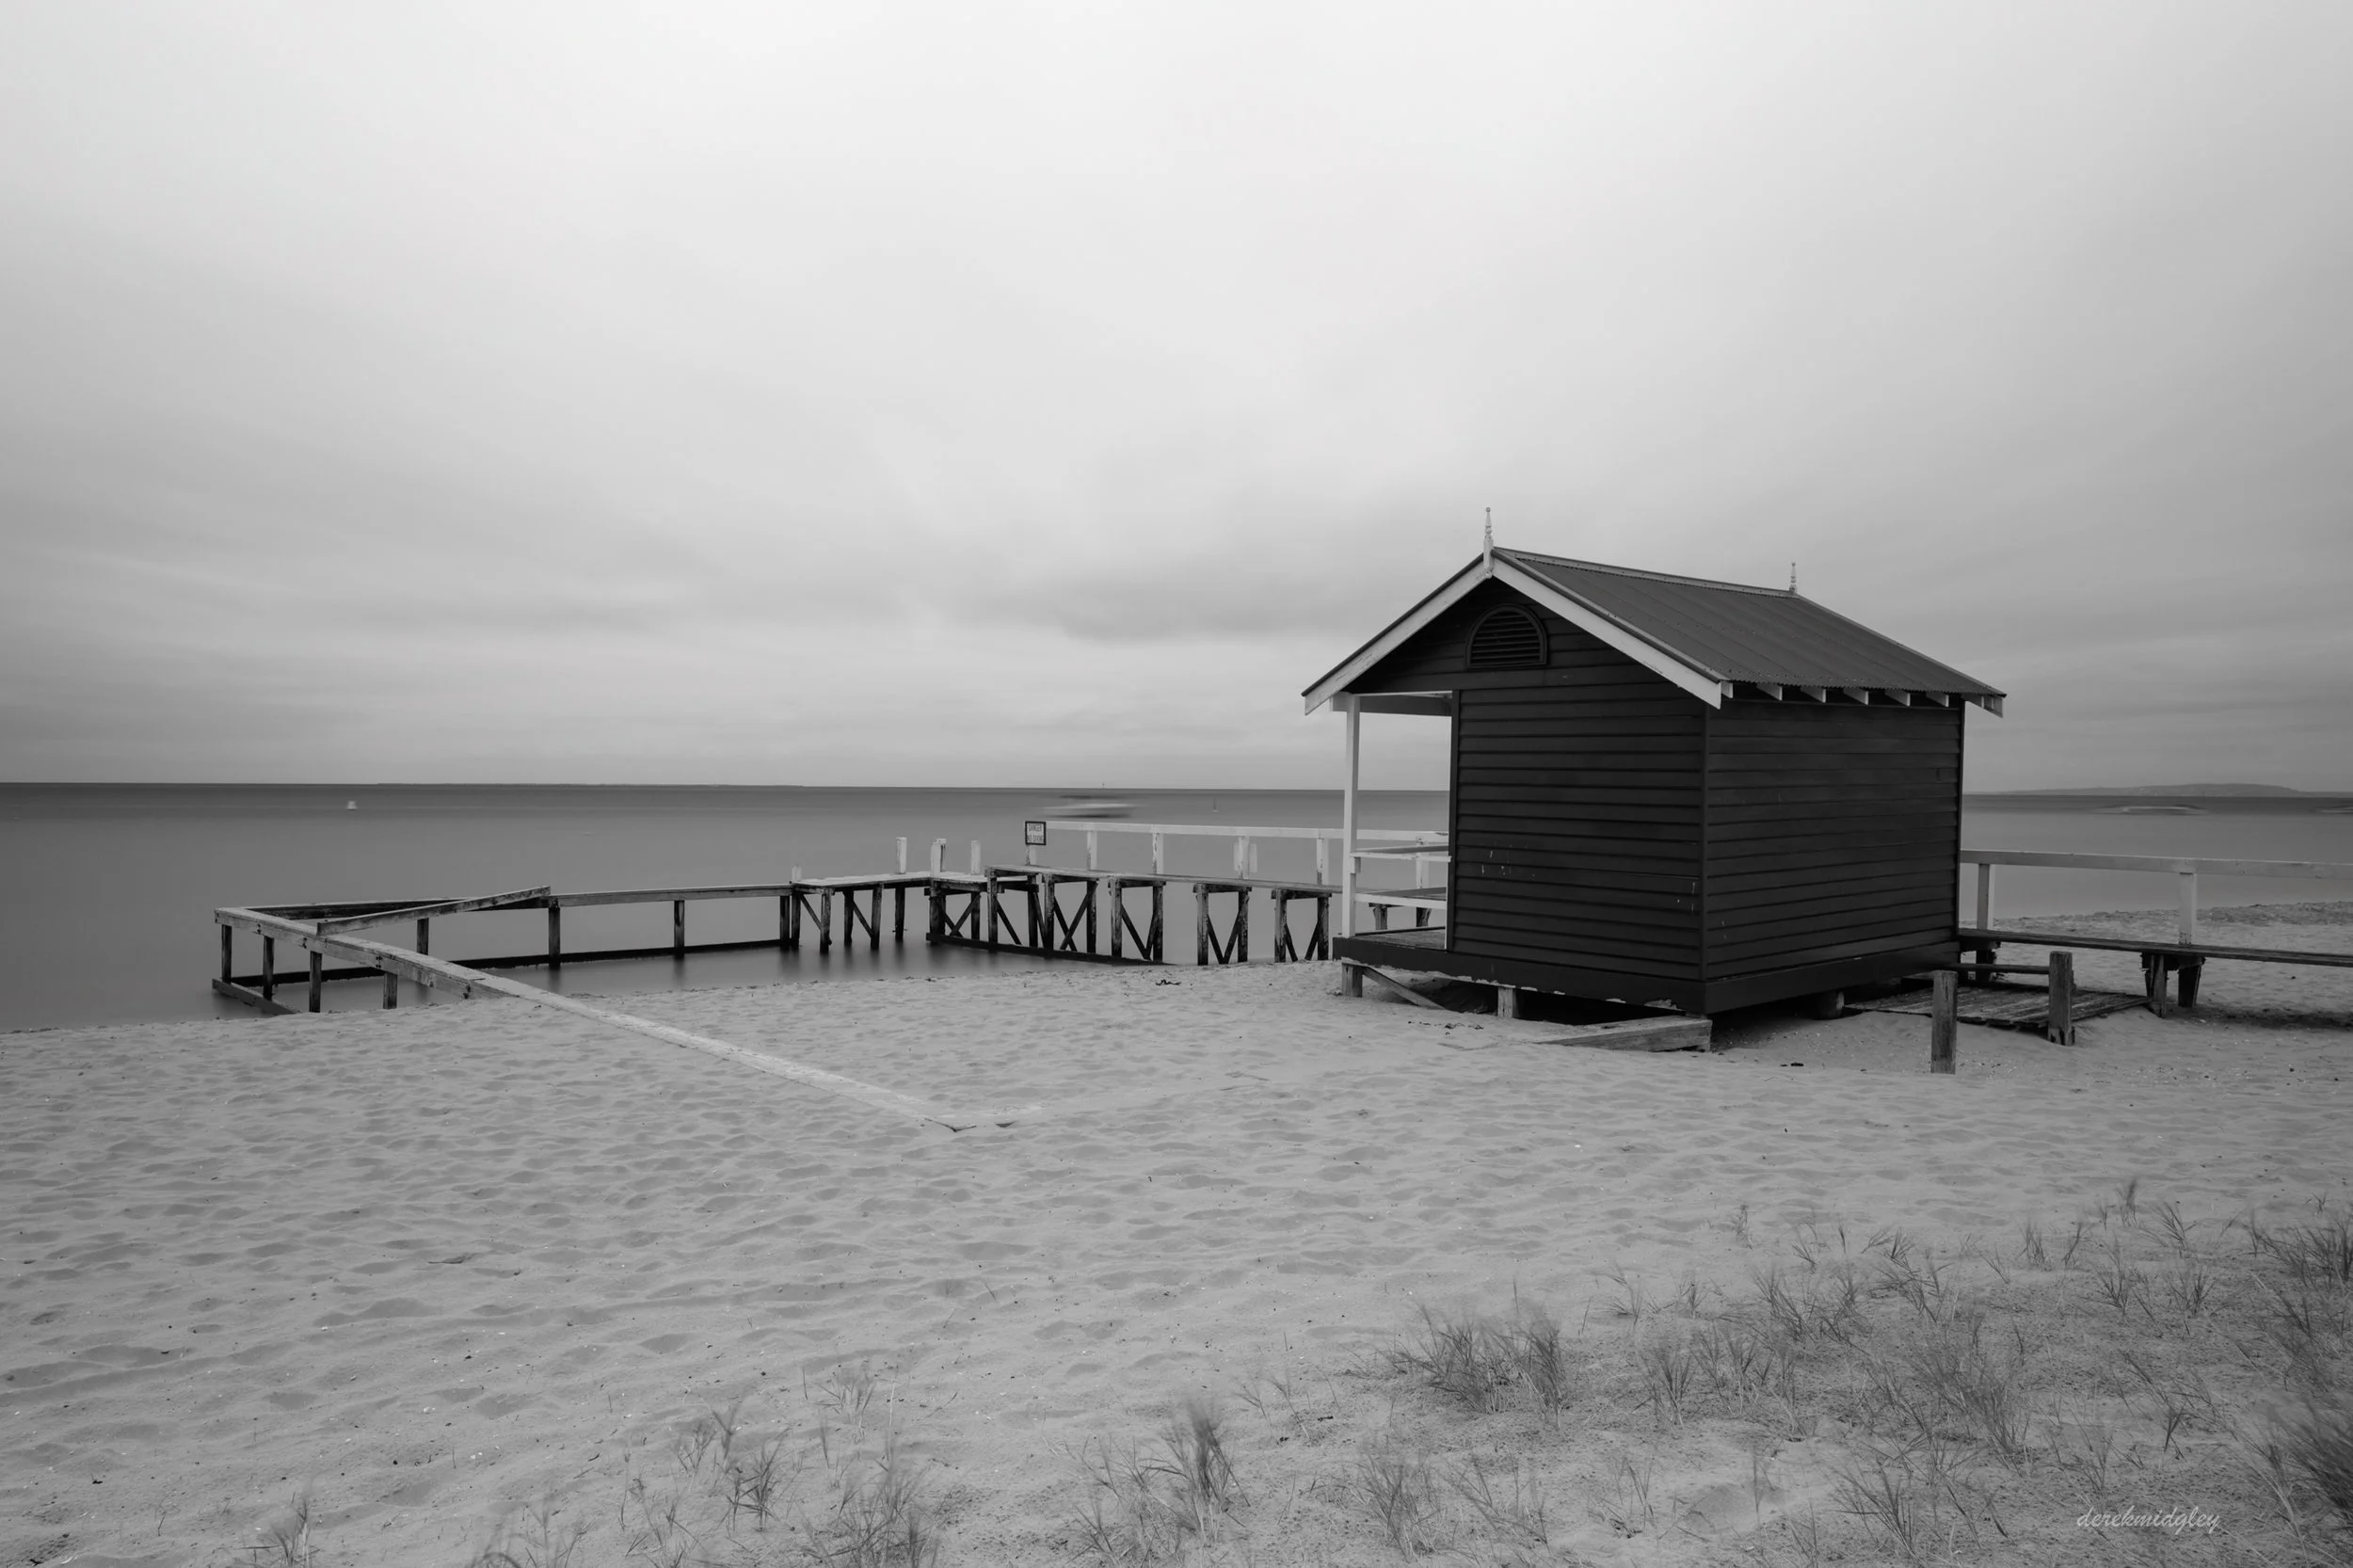
Montforts Beach
If Spray Point wets your appetite, then it’s surely worth risking wet feet and venturing down to Montforts Beach just beneath the Point. Take the path leading left and, after about five hundred metres, find the wooden steps that lead up and over the dune. The platform on top affords a great view of the interesting rock formations including one shaped just like a bunny!
You probably want to visit this beach at or near to high tide so the water laps around the most interesting rocks. It’s been said that unless you get your feet wet, you won’t get the best shot when you’re trying to photograph the ocean. I believe this is often true and I’ve been known to get more than just my feet wet trying. So lose the shoes once you reach the beach, and just enjoy the water’s edge. But try not to drown your camera and lens.

Three monsters at Montforts Beach, Blairgowrie. (24mm f11 3s ISO64 & Six stop ND 64 Filter)

Getting more than my feet wet at Montforts beach. 28mm f11 3s ISO200 and a Six stop ND64 filter

A wave recedes over golden sand as the sun begins to break through. 28mm f11 3s ISO200 & ND64 Filter. About now a lovely rainbow appeared behind me. But the composition wasn’t a winner so I let it go. The rain didn’t reach us.
Very boring notes about Filters that you need to know ( so please skip this section if you already know all about filters )
I recommend getting a set of at least these three: ND8, ND64, ND1000 plus everyone should have a Circular Polariser. Filters come in almost every size imaginable. But purchase only the size that fits the largest lens you are likely to use. For most of us that will be 77mm. If you also use lenses with smaller sizes, simply buy “Step-up” rings (e.g. a 72mm to 77mm step up ring). Step up rings usually cost less than two dollars on EBAY, frequently including postage. Filters usually cost >$50 each. Step up rings can save hundreds of dollars.

Exposure correlation chart included in Nisi filters package (credit to Nisi Filters Australia)
Ok, so what does ND8 or ND64 or ND1000 mean?
Take a look at the chart alongside. The first column is the number of stops (from 1 to 20). In photography geek-speak, each stop HALVES the light. Thus a one stop ND filter is also called an ND2 because halving the light requires TWO times the exposure time to obtain an equivalent exposure. If we filter out a second stop of light we are, basically, saying 1/2 x 1/2 = 1/4 i.e. a half of a half is a quarter; and that will require four times the exposure duration as compared to no filter at all. Thus a two stop filter is also known as an ND4; and of course a half of a quarter is an eighth. So a three stop filter is known as an ND8 which requires 8x the exposure of no filter at all. And so on and so on. Sometimes it’s easy to do this maths quickly enough in your head, especially once you’ve had enough practice. But it can get tricky when the light is changing constantly. So I’d suggest downloading a free app (Nisi and Lee Filters both have apps) or keeping a chart (like the one above) in one’s filter kit. The chart is simple: e.g. it shows you that if your exposure time without a filter is 1/125s then, all other things being equal, if you add an ND1000 filter, you will require 8s. An App or the chart can save precious minutes and get you closer to the winning photograph.

Dreamy sky a few minutes after sunset. A three second exposure without an ND Filter
So what happens if we stack one filter on top of another?
It’s worth mentioning that a circular polariser tends to cut the light reaching the lens by between one to two stops. So if you stack the circular polariser AND an ND filter (e.g. CP + ND8) you’re probably getting roughly half the light again i.e. 1/8 divided by 1/2 = 1/16 so you will then need SIXTEEN times the exposure vs NO FILTER at all. It is perfectly possible to also stack multiple ND filters. Stacking the ND8 together with an ND1000 will basically give you an ND8000 which would enable extra long exposure times even in the middle of the day.
I probably use my ND64 filter the most. It’s fun to think of the ND64 filter as a tool that changes seconds (or fractions of seconds) into minutes, or, fractions of minutes. Or if you’re trying to drain the battery, minutes into hours. (i.e. 64 approximates 60, so 1/2 a second without it becomes 1/2 a minute with it, etc.). One final, final note: when you use filters you should probably lock your ISO at the camera’s base ISO and work either in Aperture priority mode where you define the aperture and let the camera vary the shutter speed as required; or, if you’re making exposures longer than 30s you will likely need to work in full manual mode. Occasionally you might need to define both the aperture AND the shutter speed in which case you may need to bump up the ISO. That isn’t the end of the world. You may need to refer to your camera manual to work out how to shoot longer than 30s. I encourage everyone to get out as often as possible and just have fun with photography, especially in challenging conditions, changeable light, bad weather, etc. It’s the best way to learn.

Clouds in motion. Equivalent exposure using an ND64 filter turning three seconds into about three minutes!
Sunset at Montforts Beach
Yes, you guessed it, the sun appeared for sunset resulting in a click frenzy as everyone tried to digitise the moment forever. Here are two of my favourites. I took too many to choose.
![The sun appears at sunset, Montforts Beach [16mm f13 2.5s ISO64 & ND64 Filter]](https://images.squarespace-cdn.com/content/v1/5a0d5ecc6f4ca39b8be3a7ba/1570427190493-Q0HSGZE606DWINK4XJXN/DSC_9931-Edit-2.jpg)
The sun appears at sunset, Montforts Beach [16mm f13 2.5s ISO64 & ND64 Filter]
![Bunny Rock basks in the setting sun, Montforts Beach. Look at that Seaspray! [24mm f8 1/13s ISO200 & No filter]. This image was captured hand-held with the Olympus EM1ii & Olympus 12-100mm F4 lens. All others were made with the Nikon D850 &a…](https://images.squarespace-cdn.com/content/v1/5a0d5ecc6f4ca39b8be3a7ba/1570427359258-MK2N5FZ54N8O9DLV5XH1/PA051535.jpg)
Bunny Rock basks in the setting sun, Montforts Beach. Look at that Seaspray! [24mm f8 1/13s ISO200 & No filter]. This image was captured hand-held with the Olympus EM1ii & Olympus 12-100mm F4 lens. All others were made with the Nikon D850 & Nikon 16-35mm F4 lens.
All Images have been processed to taste in Lightroom. However I do try to keep edits to a minimum. The evening sky is NOT faked. I prefer not to significantly modify my pics because I’d like them to reflect the way it really was and this sunset truly was AMAZING!
Below are three very simple shots to illustrate the effect on exposure duration for no filter, ND1000 filter, and lastly ND1000&ND8 combined. If you made it to this point, thank you for reading!

No Filters: Exposure Time = 1/60s

ND1000 Filter : Exposure time = 15s (should be 16s but camera’s nearest time is 15s). Look very carefully and you can see sixteen second hands. If you think about it you will begin to imagine how that happened.
![ND1000 Plus ND8 Filters Combined : Exposure time = 120s (i.e. adding an ND8 adds 3 stops of filter to 15s which is: 15s x 2 x 2 x 2 = 120s) [ or say 15s x 2 to the power of 3] Here you need to look very carefully to see roughly sixty second hands… b…](https://images.squarespace-cdn.com/content/v1/5a0d5ecc6f4ca39b8be3a7ba/1570430861706-06LSV4DF2C50NCLTQZF8/DSC_9997.jpg)
ND1000 Plus ND8 Filters Combined : Exposure time = 120s (i.e. adding an ND8 adds 3 stops of filter to 15s which is: 15s x 2 x 2 x 2 = 120s) [ or say 15s x 2 to the power of 3] Here you need to look very carefully to see roughly sixty second hands… but, of course, it’s actually about 120 as it went round twice.